
Create Your Own Office 365 Testing Environment

Is there anyone who hasn't had some sort of interaction with Office 365? Odds are, if you've worked in the corporate world or gone to school, you've interacted with an Office 365 service in some way.
Office 365 in Microsoft’s own words is a “cloud-powered productivity platform”. You’ll often hear it referred to as simply O365 in the techie world. It includes various productivity tools including Word, Excel, PowerPoint, and outlook to name the most popular. O365 has both a “For home” and “For business” subscription models and for the purpose of this article and lab we will be referring to the “For business versions.

In IT, being able to test and break things is critical to success. I learn best by doing, so when I need to figure out how to do something, I create a "lab" whenever possible. This involves setting up my own test environment with the service or product I need to experiment with, ensuring I don't break anything in a production environment or a customer's system. Office 365 is no different; I use my Office 365 lab all the time to test things, which is why I highly recommend setting up your own lab. It's not only great for testing, but it's also a valuable way to learn new skills. Organizations often set up production (prod) tenants and development (dev) tenants strictly for this purpose.
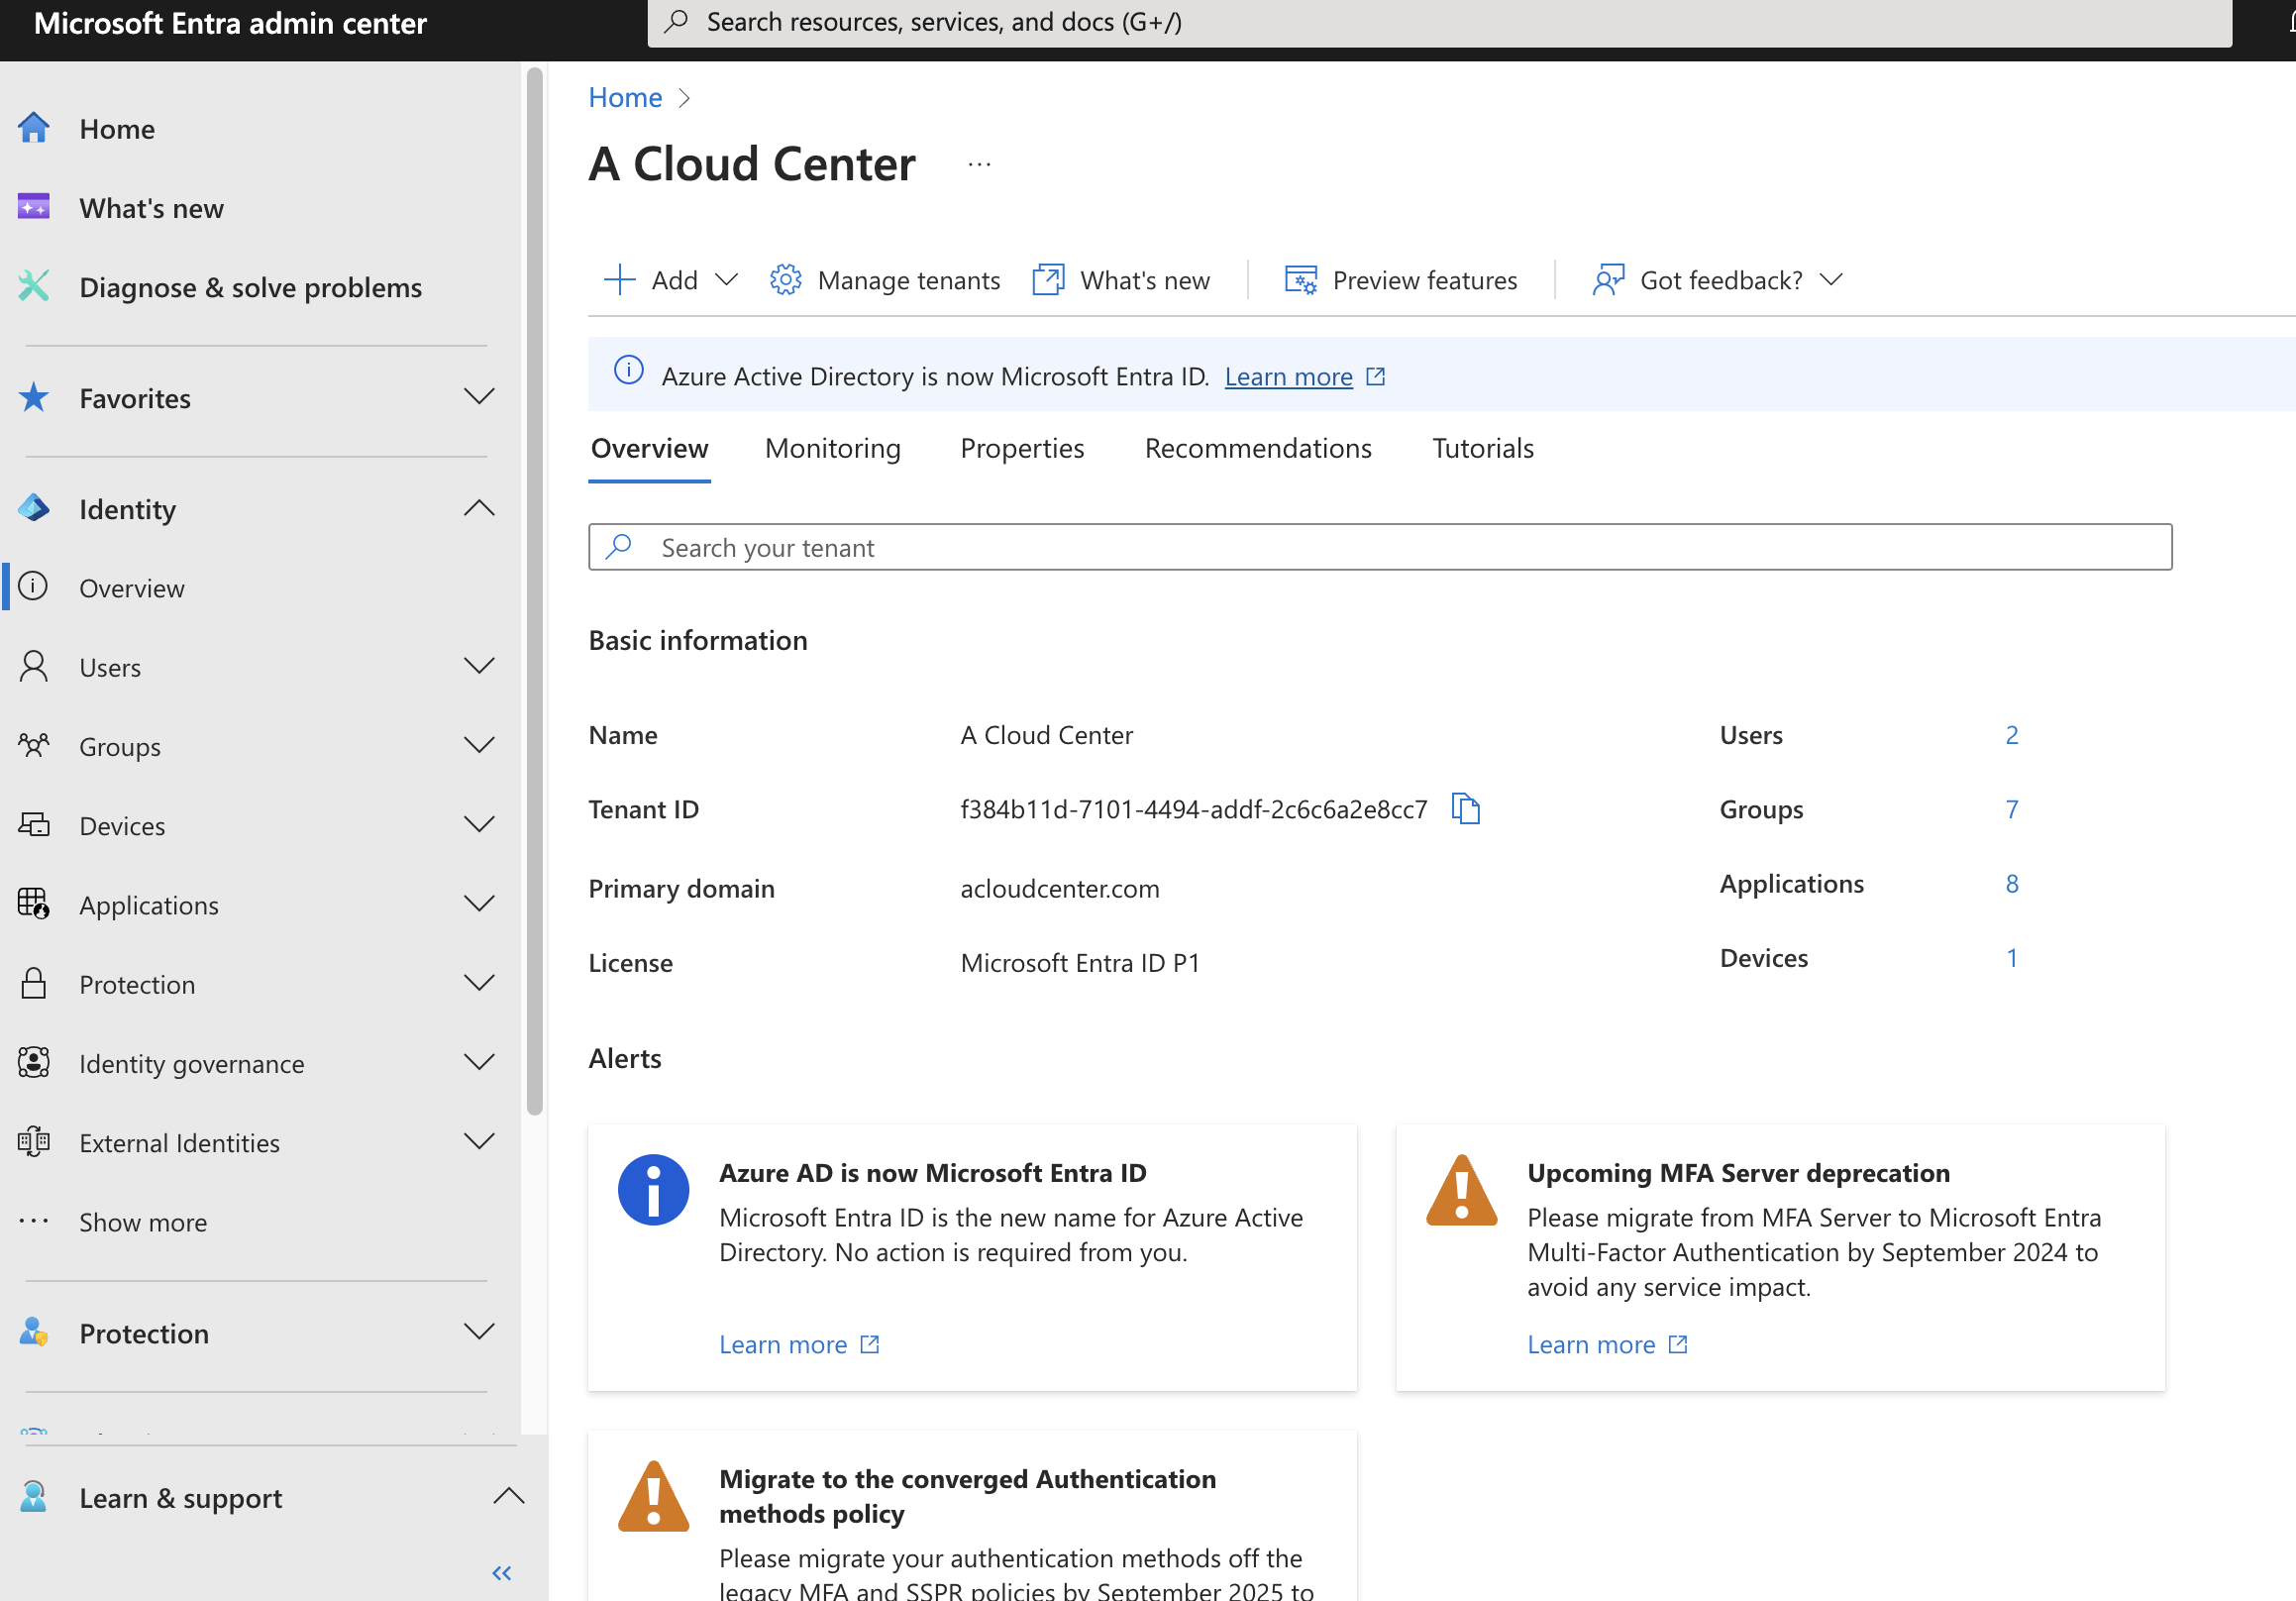
While productivity apps like Word and Excel are helpful, what we're really looking to use this lab for is the Office 365 Admin Centers. That's where the real magic happens and where we can replicate all the various tasks of IT administrators. With Entra ID, we can manage users, groups, devices, enterprise apps, Single Sign-On (SSO), and much more.
With the SharePoint admin center, you can build out an entire intranet. You can also use the Exchange admin center to explore the various tools Exchange admins have at their fingertips. You can see just how valuable a $6-a-month investment can be.

Alright, enough lecturing—let's get to it! If you navigate to microsoft.com using this link, you'll find the various subscription tiers and the features each tier provides. I know everyone loves a good free trial, and fortunately, Microsoft has us covered! You can try each tier for a full month before deciding whether to continue with a paid subscription. Keep in mind, however, that the trial only applies to one tier; you can't trial each tier for 30 days—nice try.
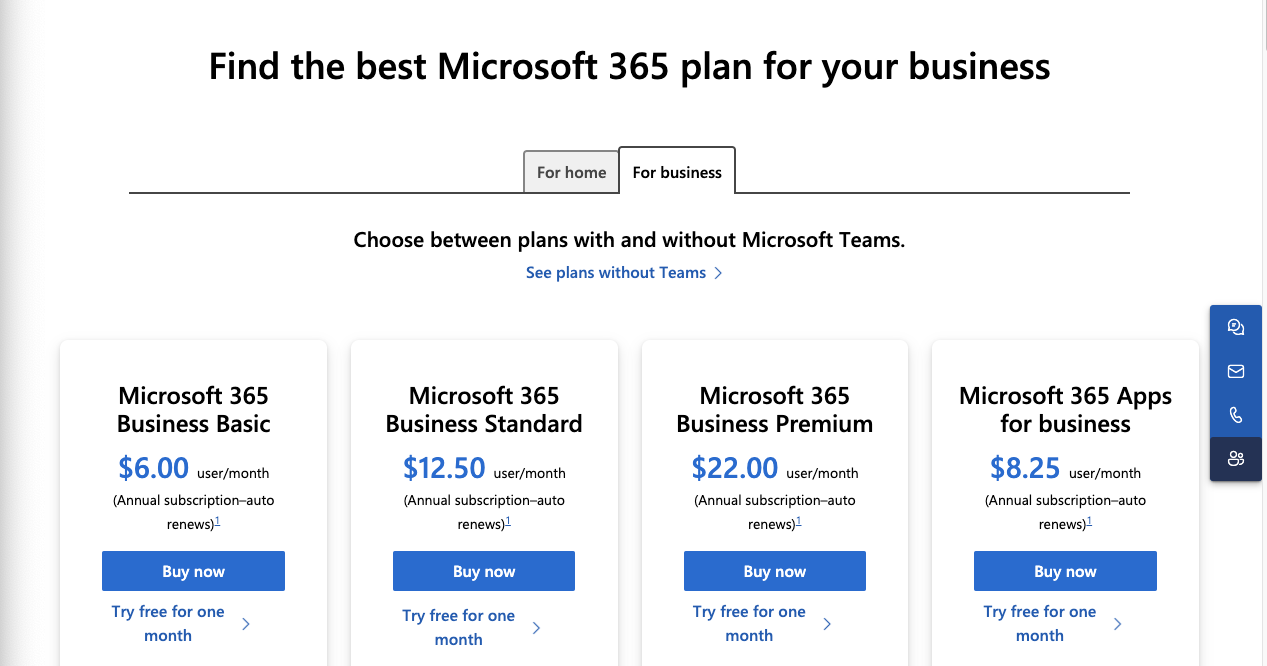
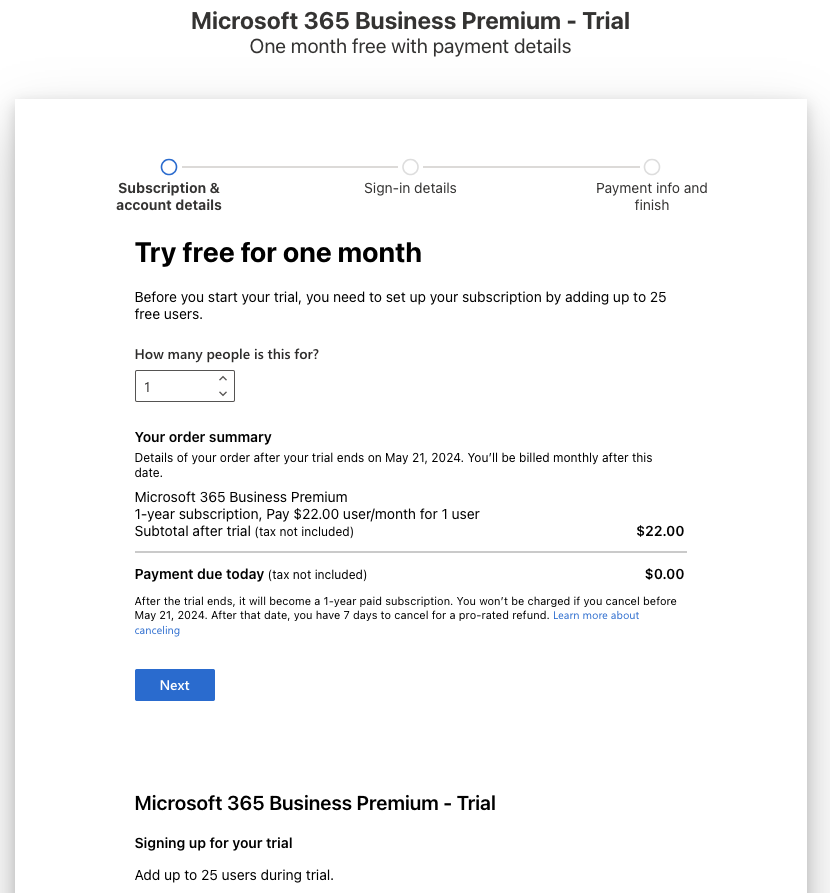
I recommend starting with the highest version to explore everything Office 365 offers, and then downgrading if needed before the trial renewal. This approach gives you full access to the suite, allowing you to decide what you truly need for your lab environment, with support for up to 25 users.
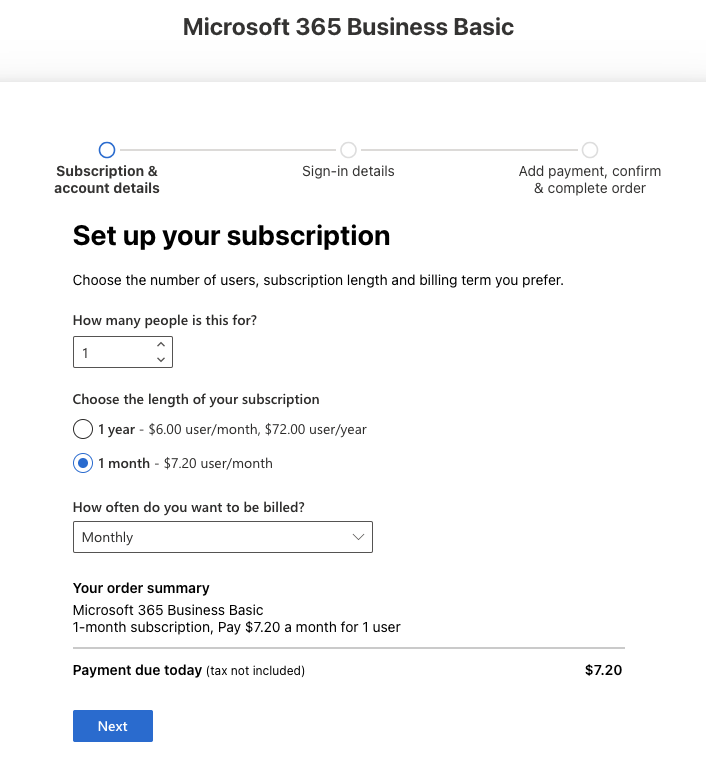
You'll notice the Business Basic plan is only $6.00 per month per user if paid annually, or $7.20 per month if paid monthly. Consider it an investment in your education and learning. Subscribe to at least one account, and you'll thank me later.
After you choose your subscription plan, the wizard will walk you through setting up the trial. There’s a great video showing step by step here. You can also follow their sign up steps here. Part of the sign up process is creating an initial user account and company name. Take some time to get creative and use a company name that you can use for all your other lab accounts. We can then also use this company to buy and integrate your own custom domain. This step is optional, but again highly recommended.

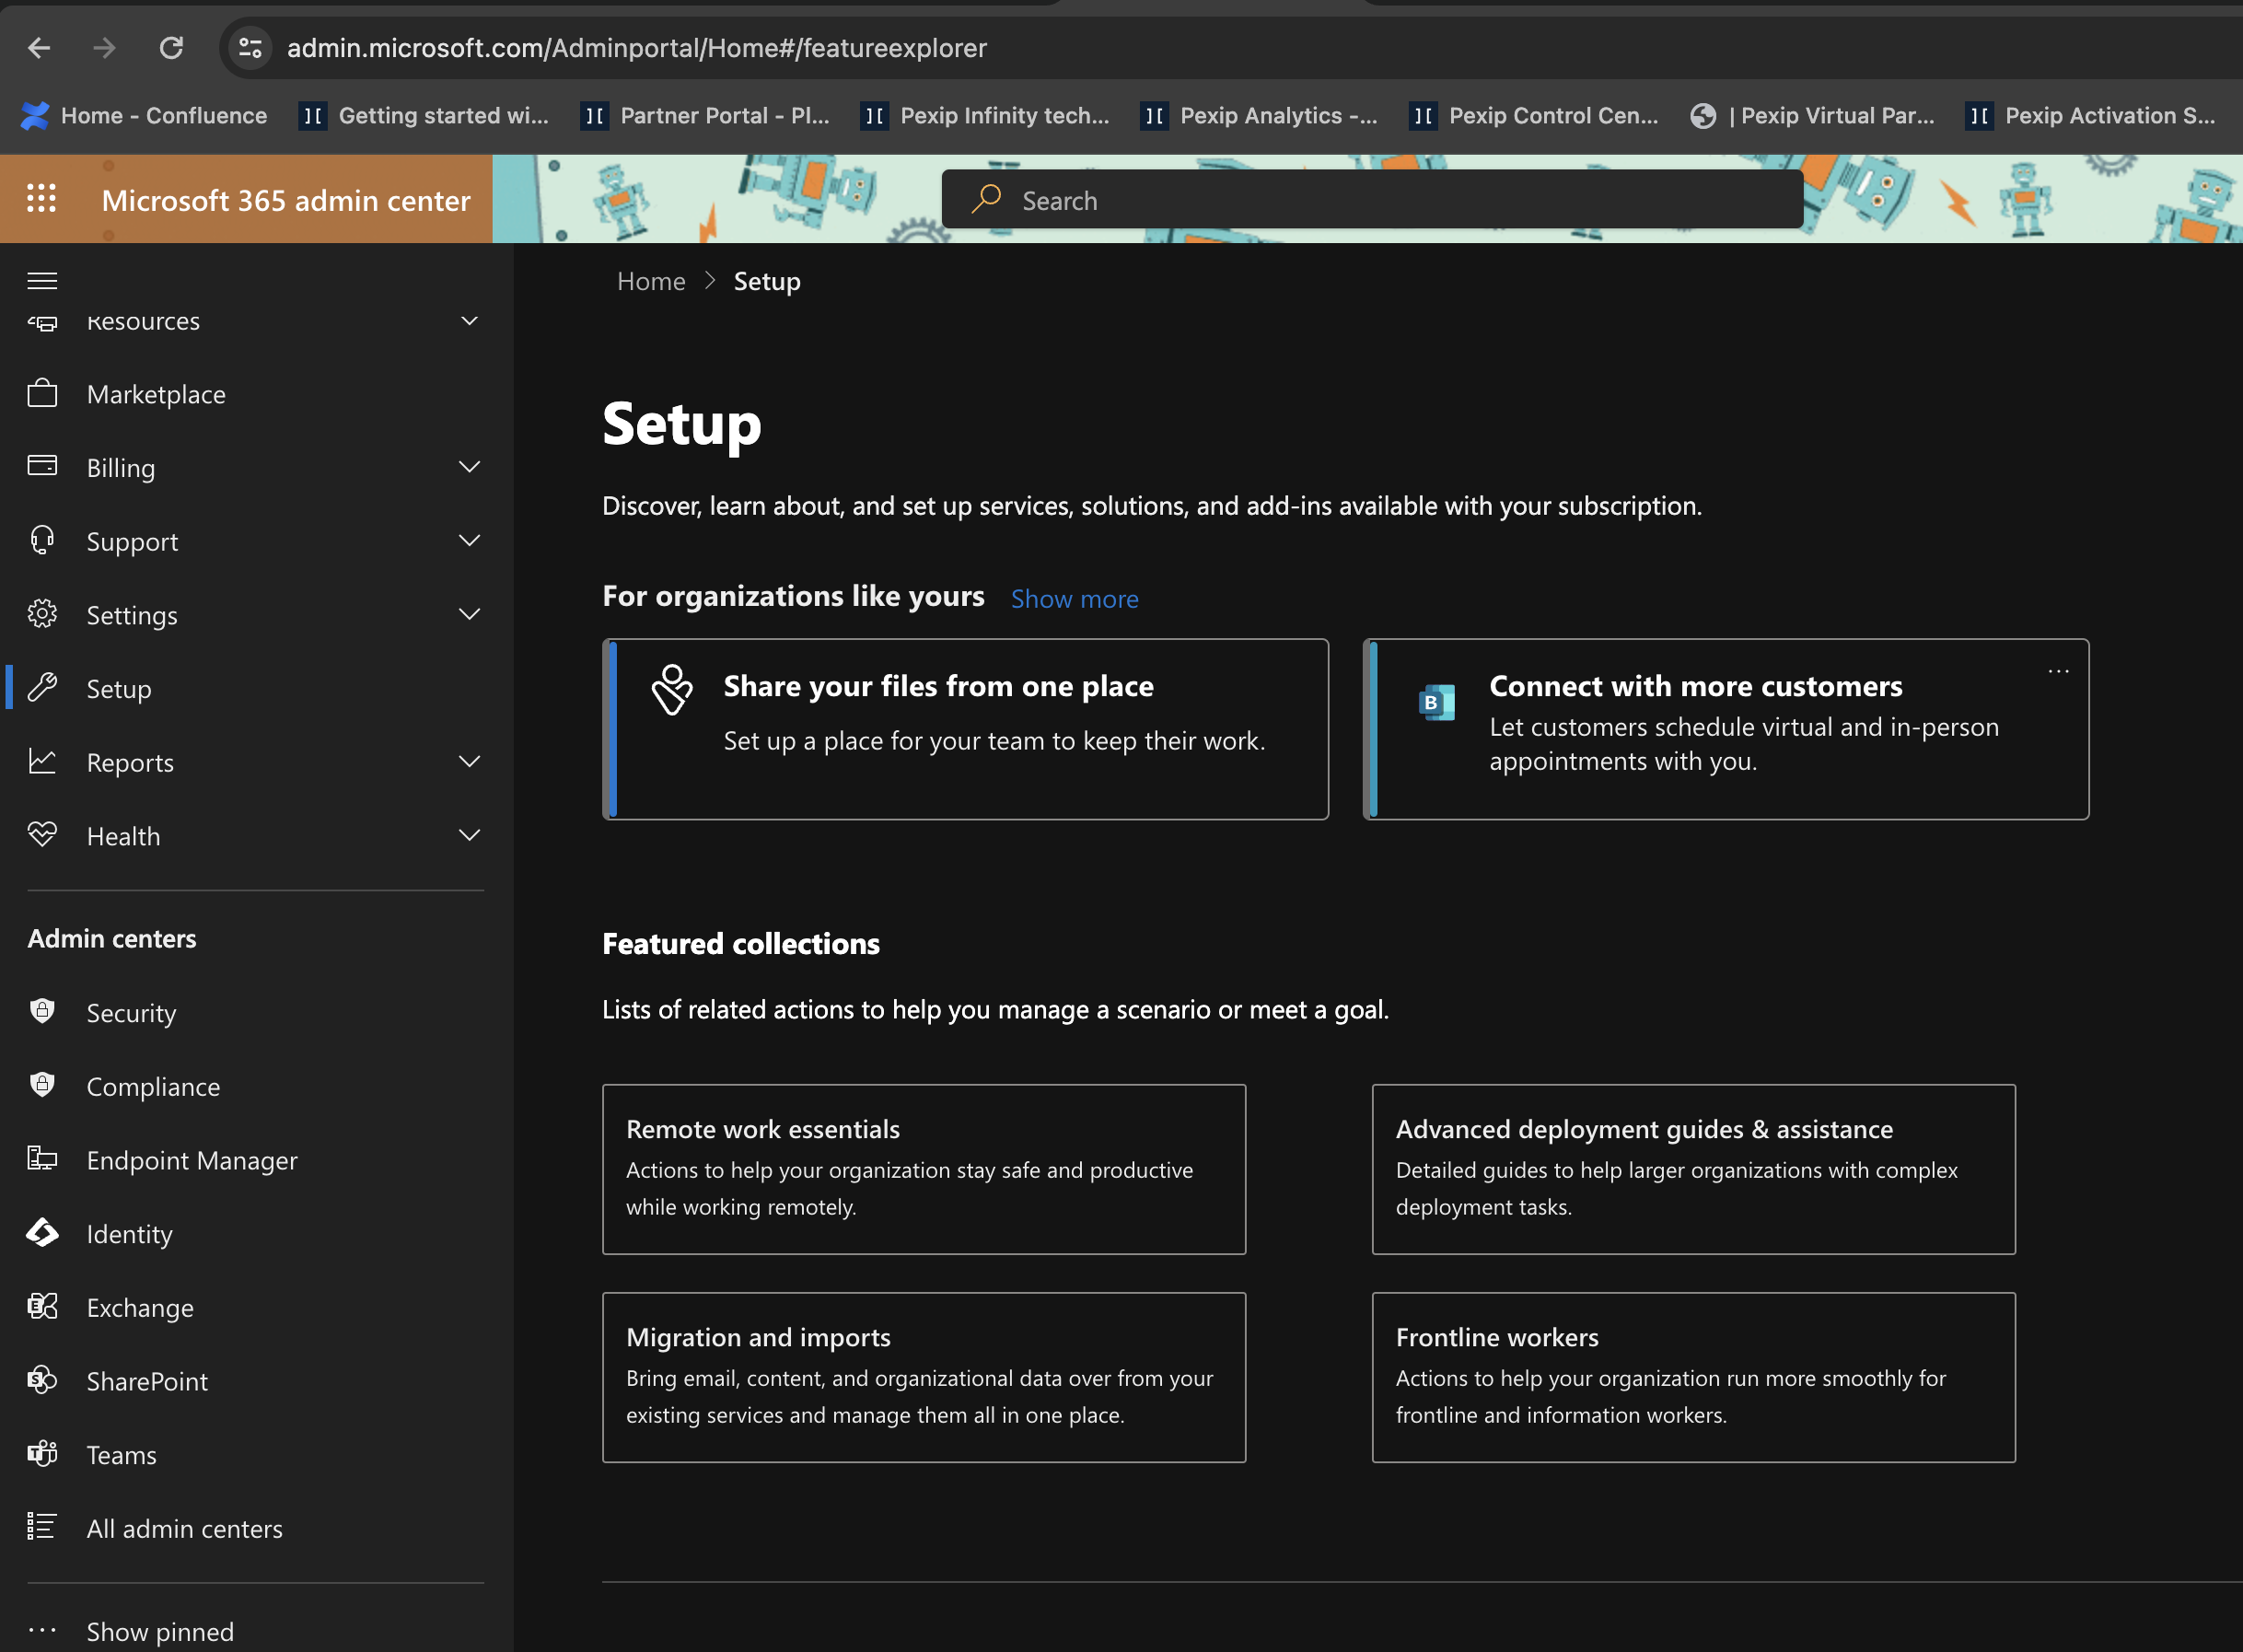
Congratulations, you have your very own Microsoft Office 365 tenant! You can now log in to the admin portals and start exploring all the various services it offers. Head over to admin.microsoft.com and sign in with your newly created account. Check out all these cool admin features at your fingertips!
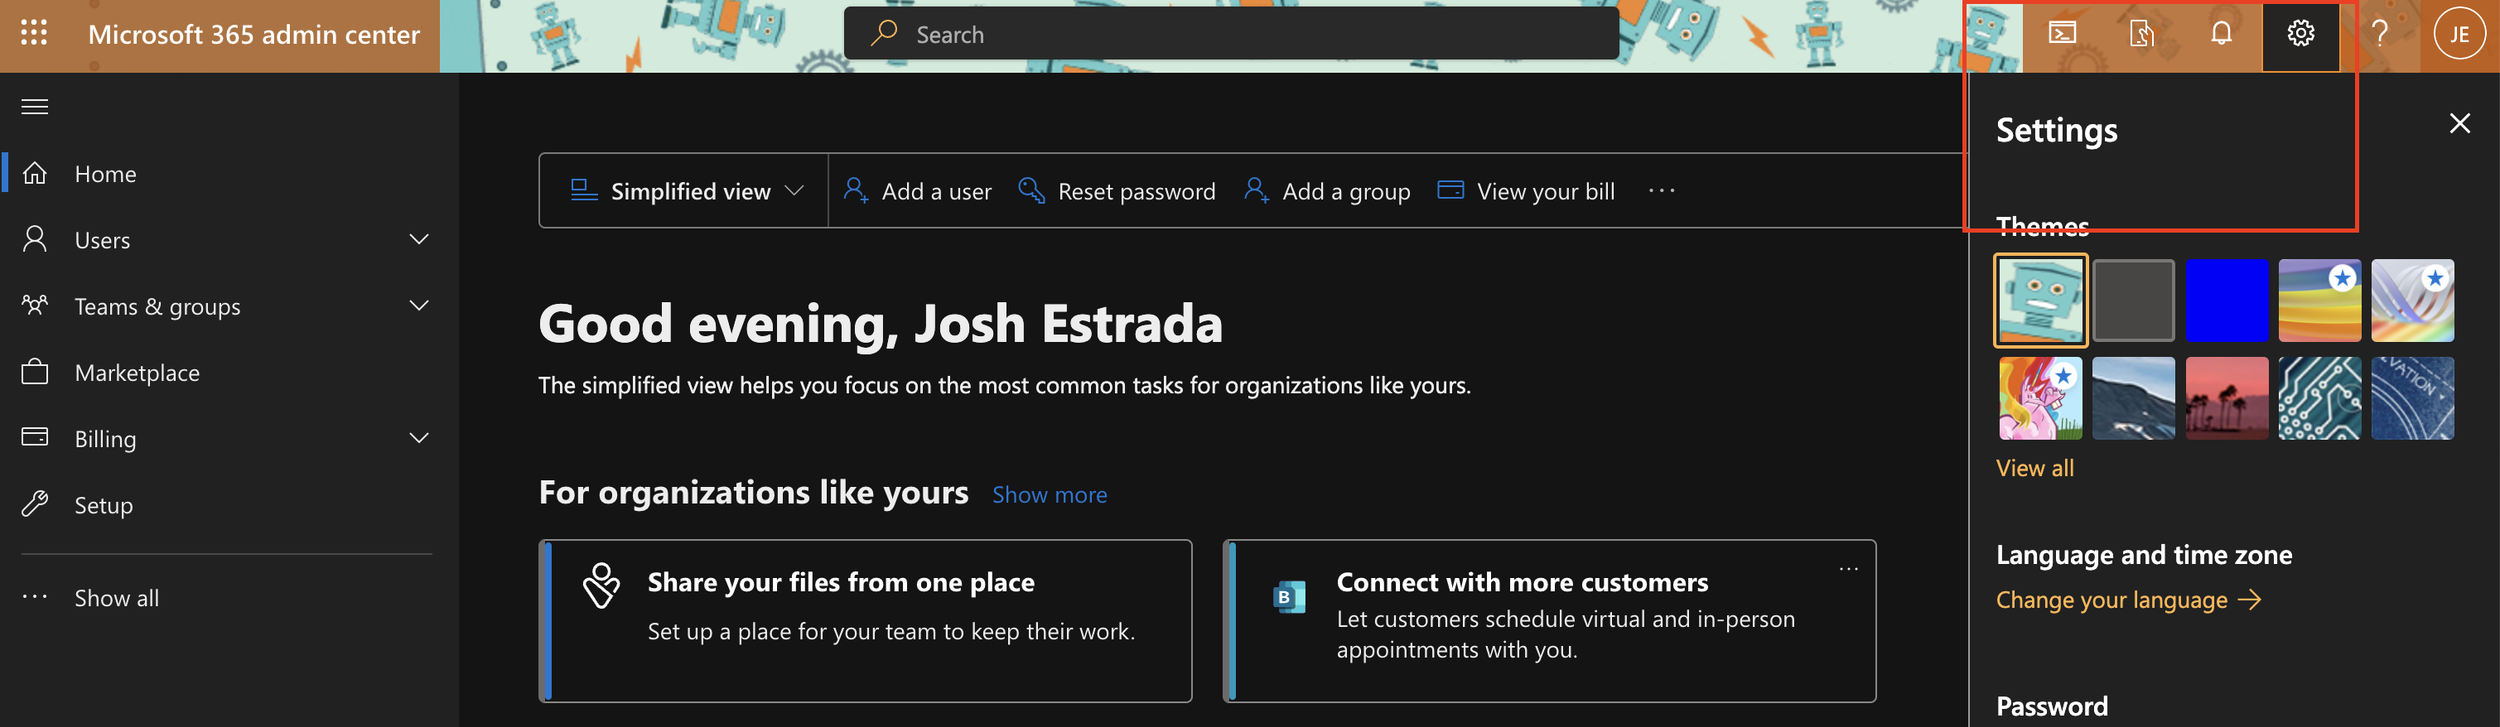
First things first, let's change our theme to fit our new company. I love sci-fi and robots, so we'll pick the robot theme. Navigate to the upper right-hand corner to find the gear icon, where you'll find the themes. Later, you can customize this even further with your own logos and backgrounds, but that's for another tutorial.
I encourage you to start exploring Entra ID, Teams, Exchange, and the various admin centers. The best part is, there's no one looking over your shoulder, nothing to break that could affect a production environment, and no pressure. That's the beauty of a lab environment.
Adding a Custom Domain
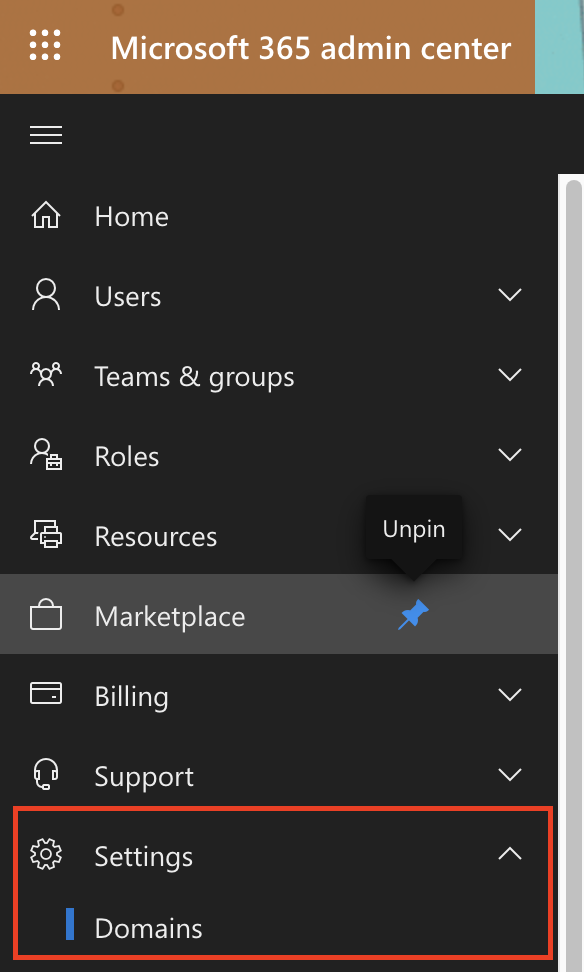
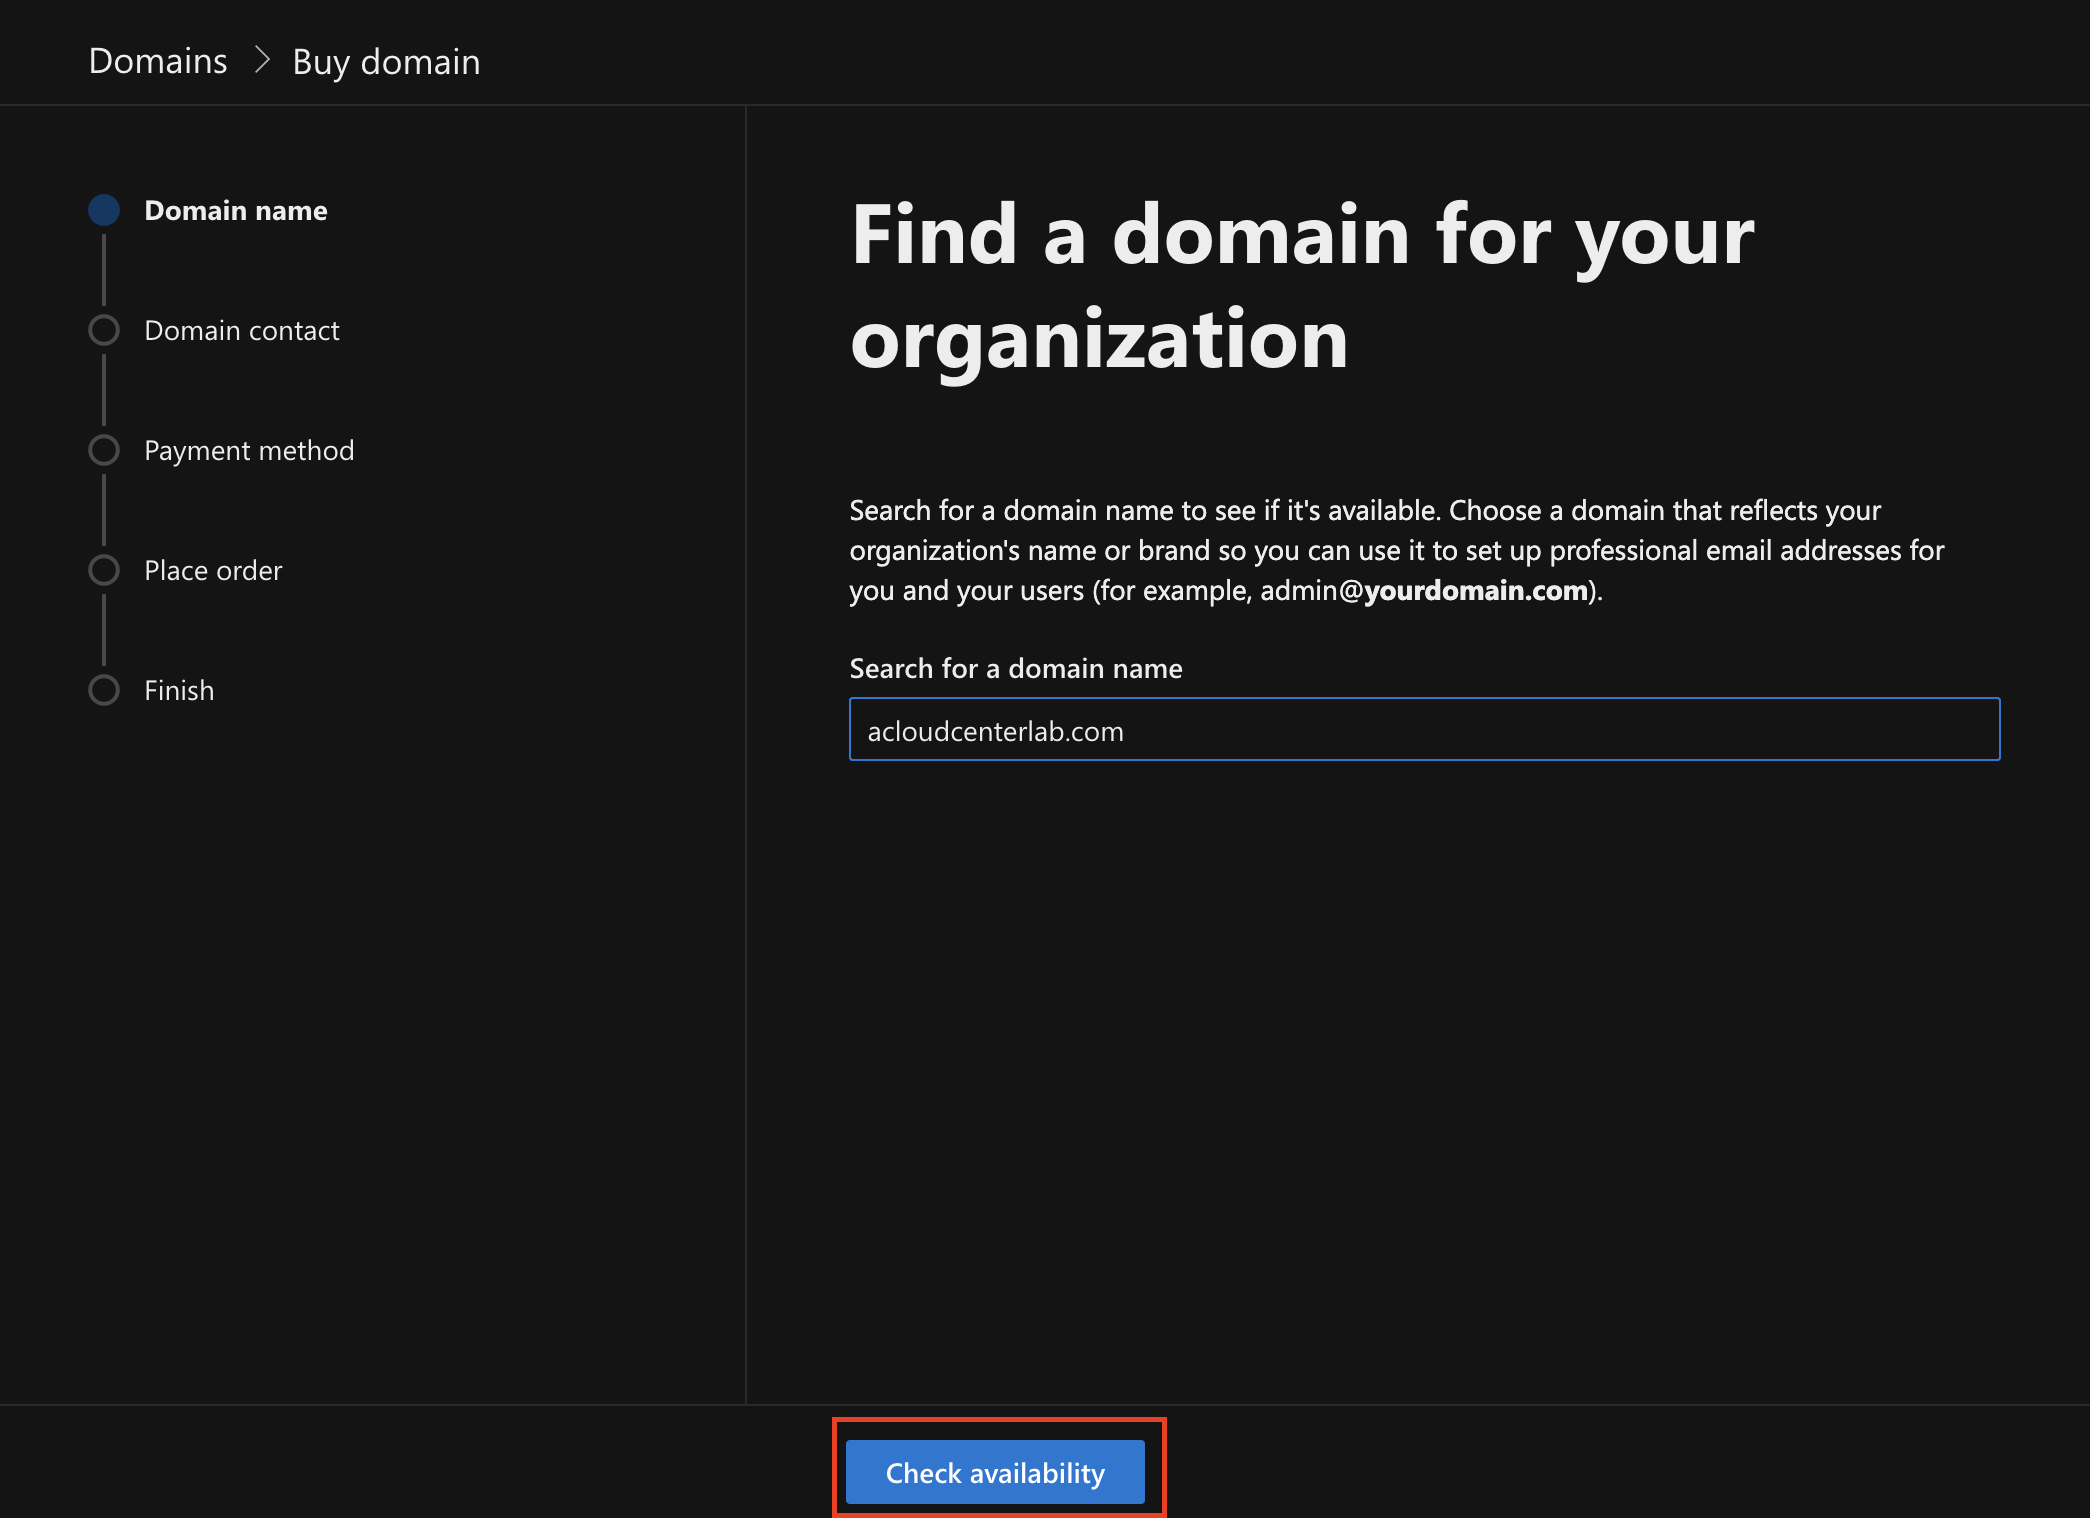
This next step is optional but highly recommended. The very next thing I would do is purchase a custom domain name and link it to your new tenant. Microsoft makes this easy by allowing you to buy the domain from GoDaddy directly from your Office 365 admin center, which then links it to your tenant automatically. Start by navigating to Settings > Domains within the admin center.
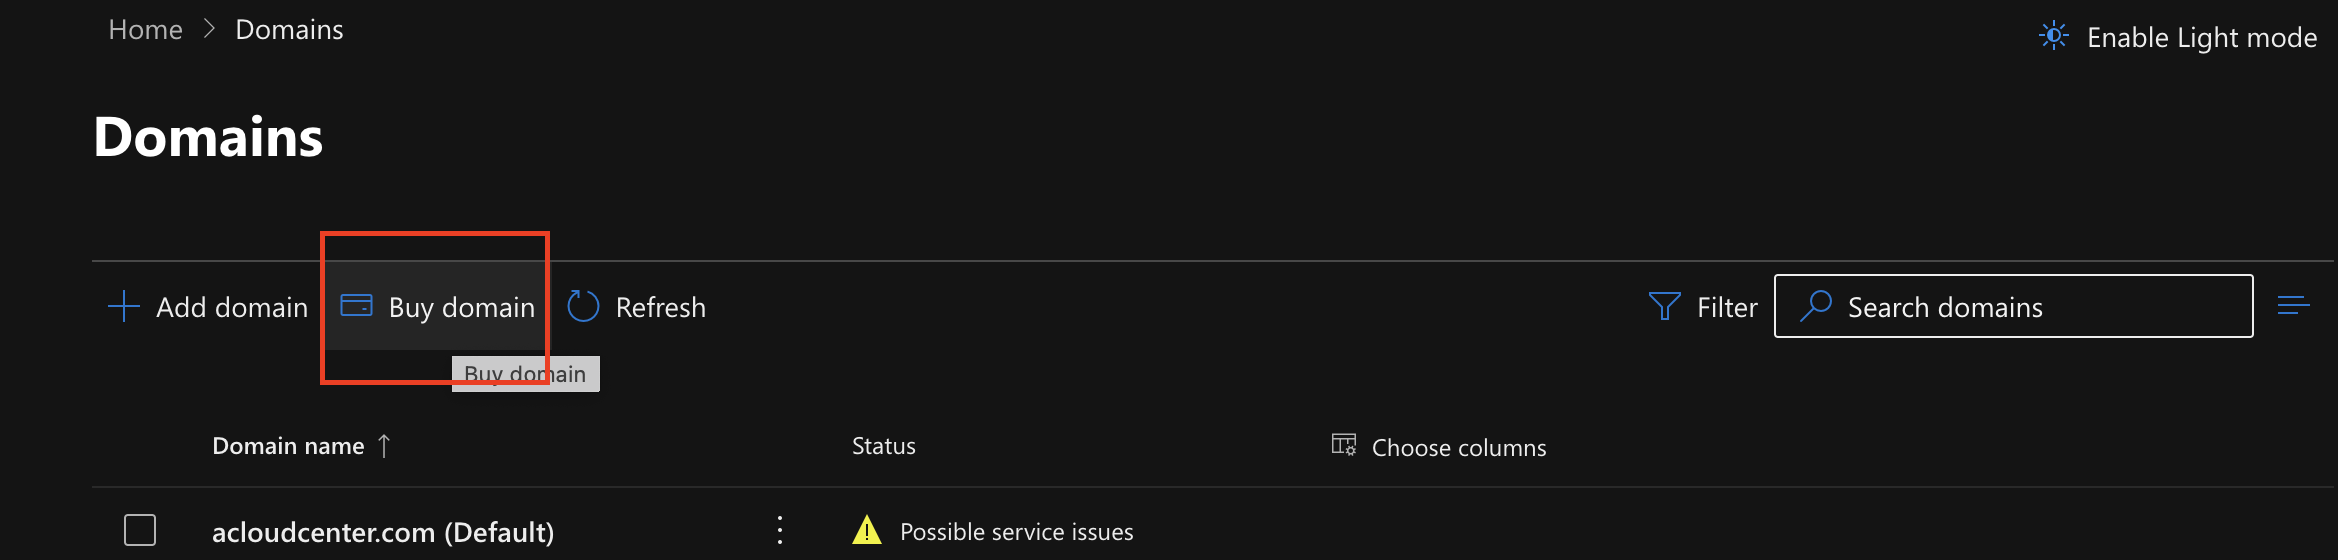
Once there, you'll see the option to add a domain you already own or to purchase one. If you choose to purchase one directly from the admin center, select "Buy Domain." If you already own one, Microsoft provides steps on how to add it here.
Next, the wizard will guide you through checking domain availability, purchasing it, and then automatically adding it to your tenant by using the Domain Connect service.
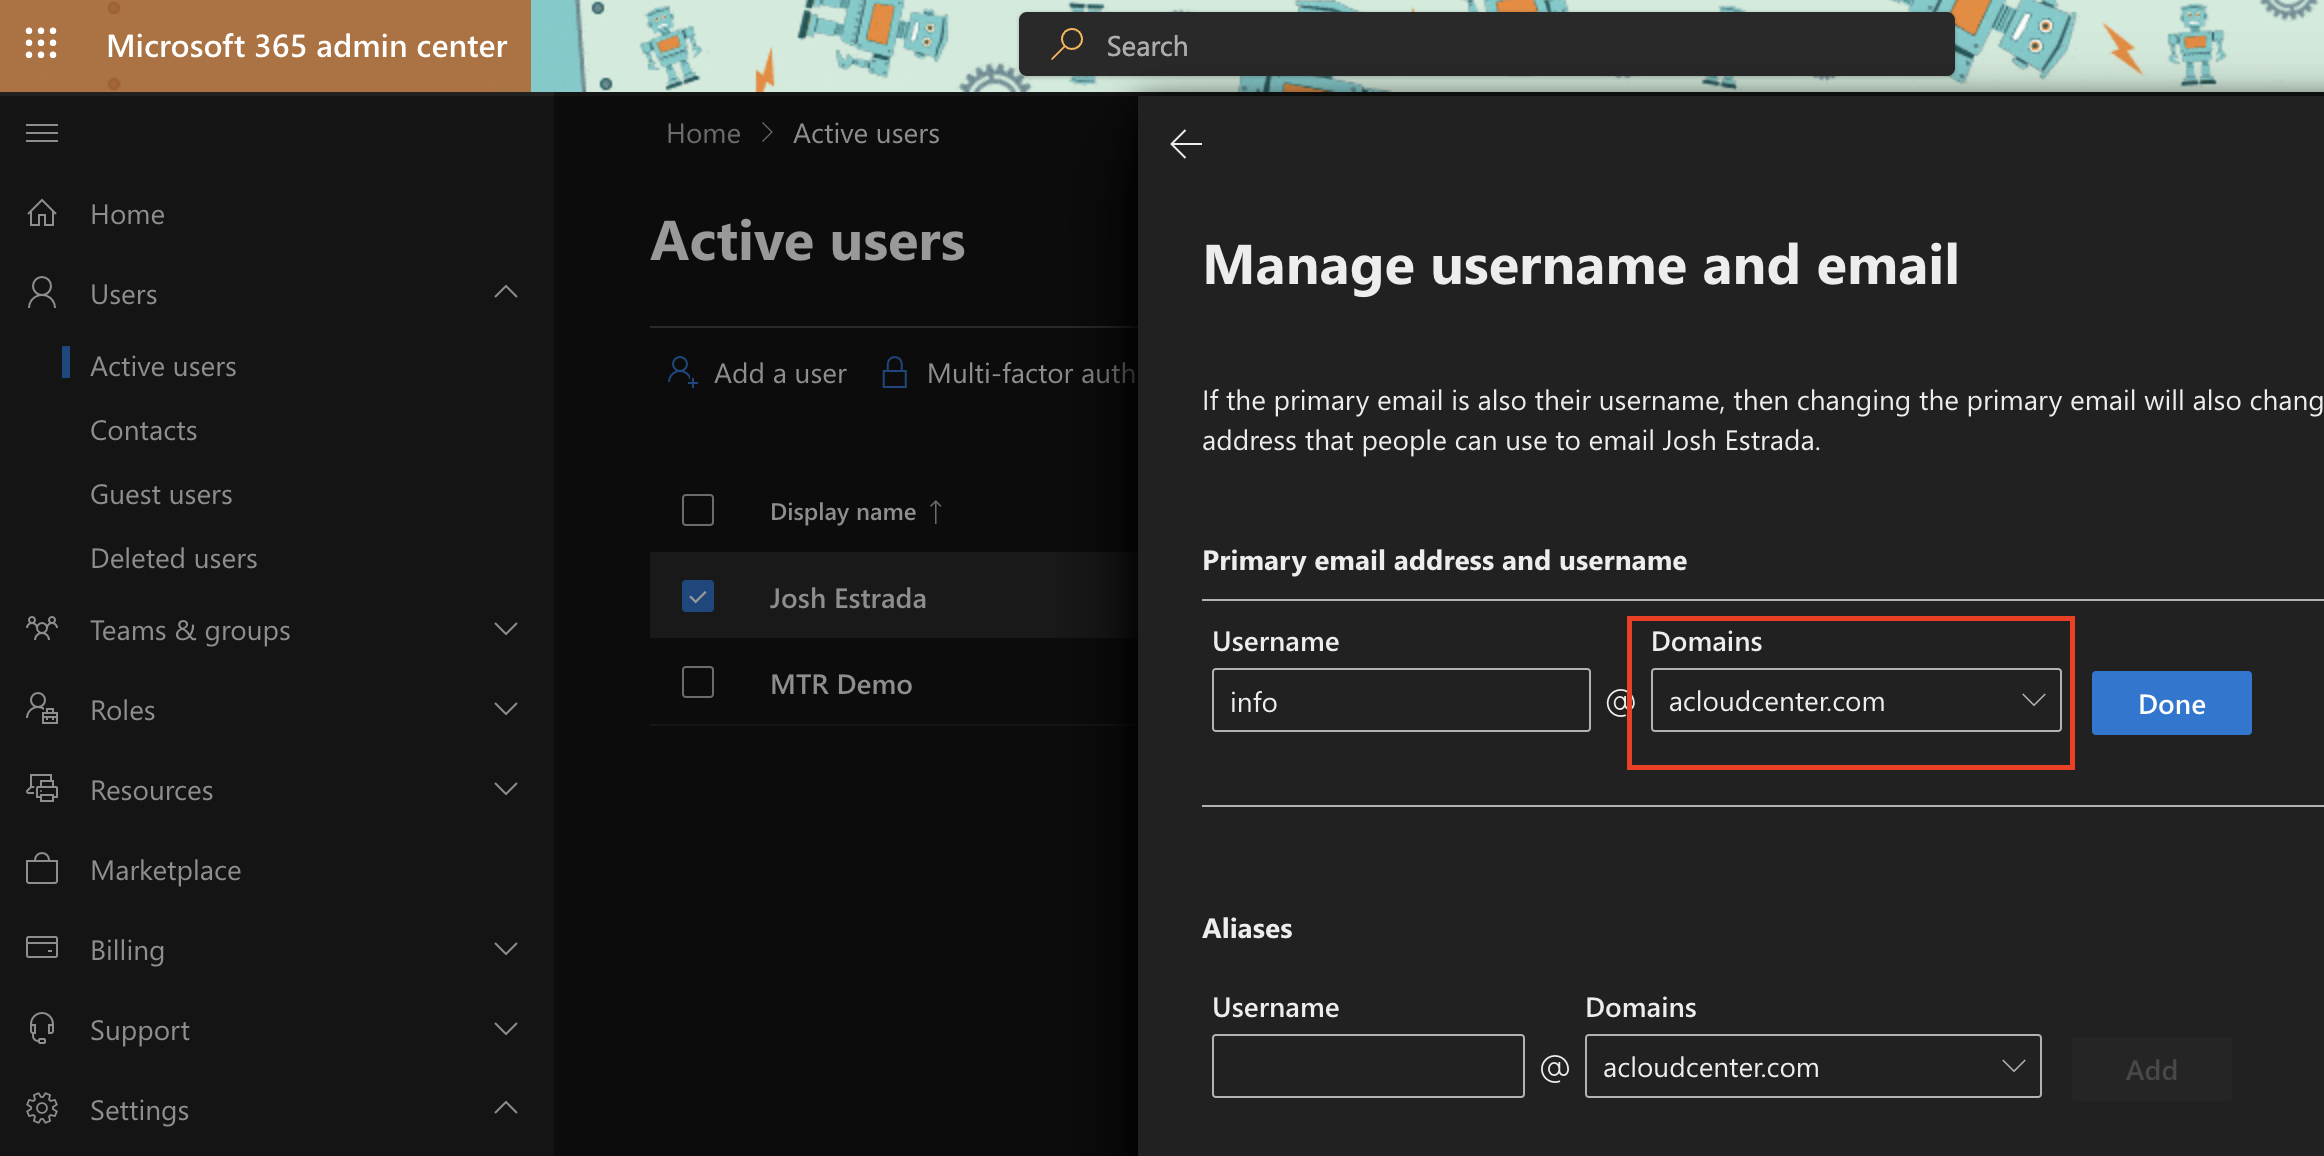
Finally, now that your custom domain is added, you can set it as the default, ensuring any users or services that get created will use your customcompany.com domain. You can also change your admin user account to use your new domain.
You now have your own custom Office 365 playground! I think you'll find there are huge benefits to being able to test and learn in your own sandbox, and for $6 a month, it's well worth the cost. Now get to exploring!